The NerdMiner Project is a freely available open-source initiative that allows you to engage in bitcoin mining using a compact hardware device. However, it’s important to note that the hashrate of this hardware is extremely low, and it should primarily be considered as an educational resource. The likelihood of finding a block and receiving the block reward is incredibly small.
The main objective of this project and the associated hardware is to enhance your understanding of bitcoin mining while also providing an aesthetically pleasing gadget. It offers an immersive and captivating experience, making it an impressive centrepiece in your home and an excellent conversation starter.
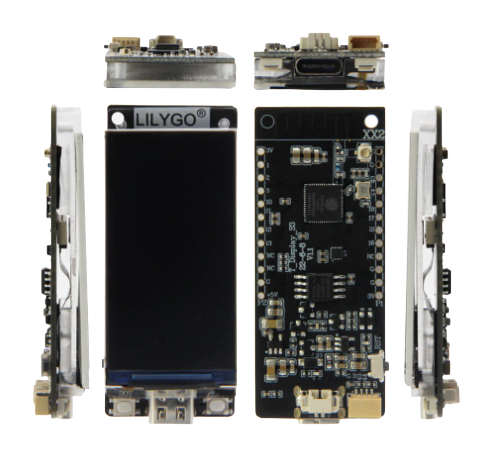
To achieve this, the project utilizes the LILYGO T-Display-S3 ESP32-S3 1.9 inch LCD Display Development Board with built-in WIFI and Bluetooth capabilities. The board features a dual-core LX7 microprocessor, 16MB of flash memory, 8MB of PSRAM, and operates on a 3.3V power supply.
With a power consumption much lower than a standard LED lamp (~1.55W), the NerdMiner achieves an approximate hash rate of 55KH/s on the latest firmware.
Here is the power consumption details:
– Device: 5V | 0.14A | 0.71W
For more information, please see the projects Github at: https://github.com/BitMaker-hub/NerdMiner_v2
Credit to BitMaker and the dev team for their excellent work and continuing development of this project.
Setting up the LillyGo to build a NerdMiner:
There are two simple ways to build/flash a NerdMiner, both are detailed below. The educational way is a good option for learning and tinkering. The simple way is almost a one-click configuration tool which does everything for you behind the scenes.
Which ever one of these methods you chose to build your NerdMiner (or if you buy one from us pre-built) you will still need to configure your Wi-Fi settings and bitcoin address. The configuration steps are detailed towards the end of this instruction.
Setting up the NerdMiner the educational way:
1. Retrieve files that begin with “0x” from the /bin folder. (Linked here: https://github.com/BitMaker-hub/NerdMiner_v2/tree/master/bin). Note: You only require one version of the firmware, preferably the latest version. You should end up with 4 .bin files in total.
2. Launch the online ESP Tool using this link https://espressif.github.io/esptool-js/ , For the best experience, use Google Chrome or Brave browser (Firefox is not compatible).
3. Plug in your LillyGo TTGO T-Display S3 device via USB C into your computer. NB. the USB C lead must be a data and power lead.
Establish a connection with your device by setting the baud (Program) rate to 115200 and clicking ‘Connect’.

If your device is not listed, try using a different cable.
A window will then pop up prompting you to select the device to connect to – select your device and click connect again.
4. Once it is connected, you need to configure the files for programming. Use the ‘Add file’ button to add four rows. Then ensure to modify the flash address on the left to match the different files, as below:
– 0x0000 – Choose Bootloader file
– 0x8000 – Choose partition file
– 0x10000 – choose firmware file
– 0xe000 – choose BootApp
Also see image below if helpful:

5. Click on ‘Program’ and wait for the process to complete. Afterwards, disconnect and reconnect the power lead.
6. After a few moments you should see the Nerdminer Wi-fi setup screen with a QR code. This may take a minute or two if not instant.
Setting up the NerdMiner the simple way:
1. Plug in your LillyGo TTGO T-Display S3 device via USB C into your computer. NB. the USB C lead must be a data and power lead
2. Go to https://bitmaker-hub.github.io/diyflasher/
For the best experience, use Google Chrome or Brave browser (Firefox is not compatible).
3. From the dropdown box select “Nerdminerv2 {Firmware version you require}”. We’d recommend choosing the latest firmware.
4. Click flash, a window will then pop up prompting you to select the device to connect to – select your device and click connect. If your device is not listed, try using a different cable.
5. All the files detailed above in the educational setup will be flashed to your device.
After a few moments you should see the Nerdminer Wi-fi setup screen with a QR code. This may take a minute or two for the device to boot up.
Configuring the NerdMiner:
Which ever method detailed above you chose you will need to configure the device to connect to your Wi-Fi network and enter a bitcoin address where you wish to receive your block reward to if your NerdMiner finds a block.
1. On your computer or mobile phone, connect to the Wi-Fi network provided by your Nerdminer device. You can achieve this by either scanning the QR code displayed on the screen or manually scanning for the Wi-Fi network and logging in using the credentials below:
The SSID is: NerdMinerAP:
The Password is: MineYourCoins
2. Open a web-browser, you should be automatically re-directed to a set-up page. If you aren’t automatically re-directed simply manually navigate to 192.168.4.1 in a the browser.
you should see this screen:

3. Click the “Configure Wi-Fi” option and provide the requested information on the screen. This includes selecting your Wi-Fi network, entering the Wi-Fi network password, and specifying the bitcoin address for receiving mined bitcoin in the event of discovering a block, we suggest a seg-wit address starting bc1q (Note; taproot addresses starting bc1p don't currently work with the default public-pool). The pool settings are pre-set to public-pool.io, but you can customize them according to your preferences, though it’s usually advisable to keep the default settings.
The fields annotated with red text on the image below are the 3 fields you need to configure.

3. In the rare event that you discover a valid block, you will receive the full block reward to the address provided. (excluding a small fee that will be directed towards the solo mining pool, this differs between pools but expect around 2%).
4. Once you have entered all the necessary information, click “Save,” wait for a moment, and then restart your device.
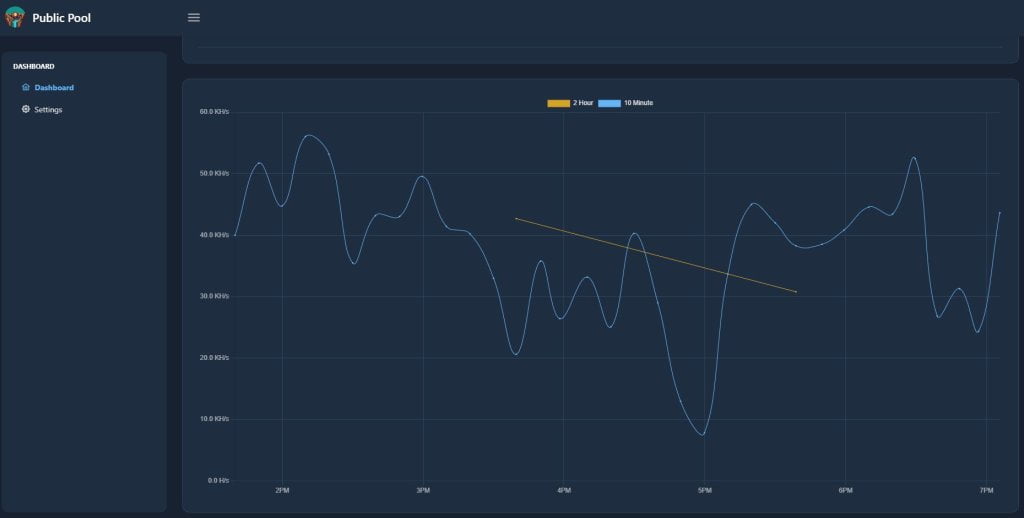
5. You should now be able to view the Nerdminer main screen. Where you should see how many KH/S your NerdMiner is producing. (Expect around 55KH/S, may differ slightly depending on firmware) Use the buttons to navigate as described below:
Top Button:
- Single click: Enables screen switching (only functional with firmware version 1.5 or higher).
- Press and hold for 5 seconds: Initiate a reset of your configurations and restarts the device.
- Hold and power up: Activates the configuration mode, granting access to modify the current configuration via Wi-Fi or adjust/verify settings.
Bottom Button:
- Single click: Turns the screen off and on.
- Double click: Alters the orientation (default is USB-C positioned to the right).
Centre Button:
- Hard Reset: Caution! Only press this button if you intend to erase all data on your device.

We hope our guide has helped you setup your very own Nerdminer.
Just want to get mining with none of the faff? Our pre-setup modules for plug-and-play mining are available here.
Order today for free UK shipping / free global shipping when you spend £100 or more!